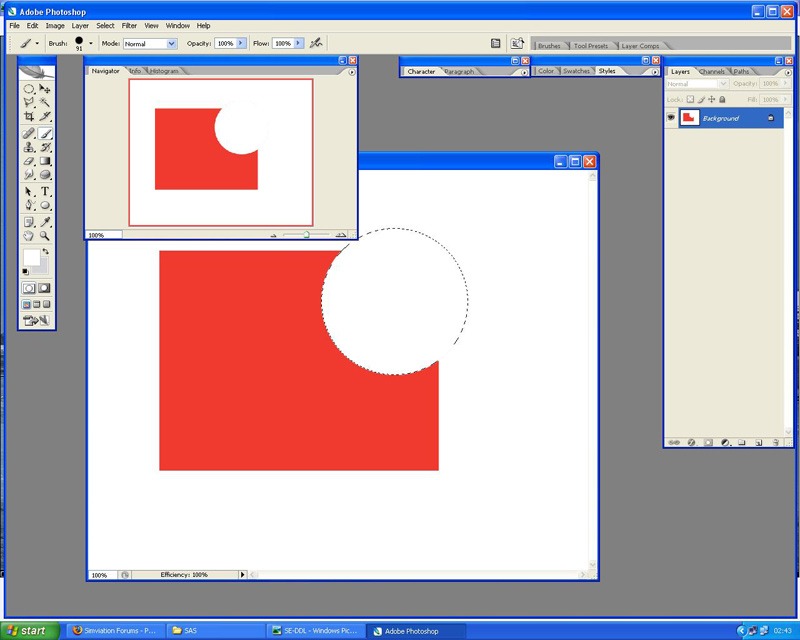
Aha! Difficult to explain, but heres a method i somtimes use...
PS has a 'circle' tool, well it makes an ellipse, which you can make huge or tiny. I use this over the bit i want the curve or shape to appear, if its within the limits of a circle or ellipse. By placing it over a block of the painted area, i can use it as a guide for the eraser, so you erase away the portion of the bit you dont want, leaving you with the curved edge of the bit you do want.....
So the pic youve used as an example, i would paint that bit where the curve is as a 'box' of colour, then use the ellipse tool over it, place it then erase it, leaving me with that shape.
Take a box of colour as a test, and try varying shapes with the ellipse circle tool and 'cut out' bits of the box by placing the ellipse at various angles, and by decreasing and increasing its size - then youll see what i mean

There are other methods, but this one works for me usualy for simple curves and shapes....
Heres an example :-

Theres a few methods i use for doing both sides of the aircraft - depends on the painkit, but the duplicate layer function plus 'flip horizontal' or 'vertical' or whatever usualy works for me....
So your duplicating whatever layer it is you need on the other side, then flipping it so its the right way round, then its a question of placement.
The CLS paintkit only gives you the port side of the fuselage to paint, so once that side is done i then flip it horizontal, then go through the layers for lettering and so on and flip then individually, the lining up is perfect every time

Other paintkits demand other methods

No doubt someone will now come along with a much simpler method

In this example i only painted the port side, the starboard side is flipped, then the lettering, logos and so on are flipped to match...

