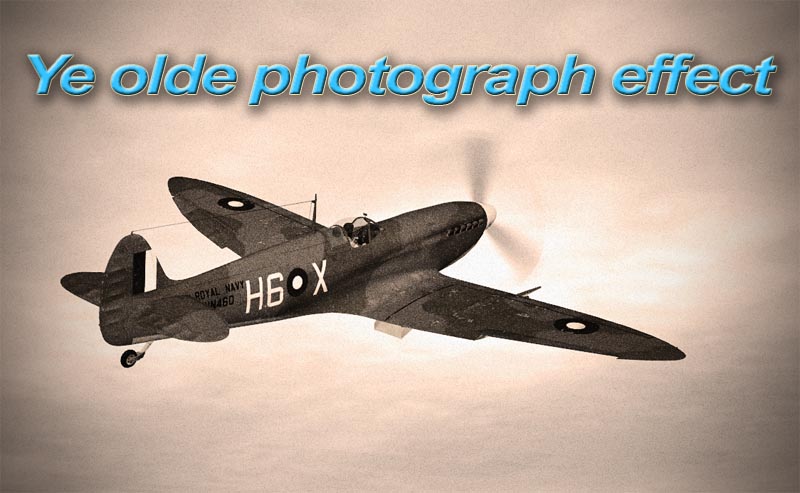
Here’s a short and simple Photoshop (CS2) tutorial to make your shot look like an old photograph. Please read my
‘Colour editing for dummies’ tutorial before reading this tutorial.
You need to complete the steps in ‘Colour editing for dummies’ all the way to the final colour tweaking step (see
part 2). When you get to the menu with the sliders, things go a bit differently. This time, we’ll lower the colour intensity instead of increasing it.

After that, decrease the saturation until it’s almost black and white.

Now apply a photo filter set to sepia.

Add a fair amount of grain (it’s a filter

). Don’t be afraid to overdo this.

After adding the grain, use the fade option with blending mode set to illumination (the blending mode all the way at the bottom of the list). Move the slider until it looks good to you.
You’re pretty much done now. Add a vignette effect and fade it a bit.


That’s it! Easy huh?

I hope you enjoyed this tutorial.
Happy editing!
Sytse

