This is intended as a brief walk-through on resizing images & saving them in a format & optimum size for posting on the Simviation forum. I don't claim to be a screenshot expert & assume that you already know how to take them & save them to your hard drive. Everyone has their own pet methods for taking screenshots & there are numerous utilities for taking multiple screengrabs. Whichever method or utility you use I strongly suggest saving the shots in an uncompressed format like Windows BMP.
I'm only concerned here with free software. There's plenty of suitable examples available nowadays which compare favourably with expensive commercial software. It's been suggested that I start off with IrfanView. This has been one of my favourite little programs for many years & I use it for many different purposes.
First go here & download the latest version of IrfanView.
http://www.irfanview.com/main_download_engl.htmWhile you're about it get the complete set of PlugIns (irfanview_plugins_425_setup.exe).
http://www.irfanview.com/plugins.htmInstall IrfanView first, then the plugins to the same location. Installation should be quite painless. You will be given various options during setup & this is a matter of preference. I opted for a Desktop Shortcut & removed the others. I advise against associating IrfanView with file extensions at this stage. You can do this later if you wish.
Before we begin I would like to emphasize that you will get the best results from working with the original screenshots saved in an uncompressed format. Every time you open & save an image in a compressed format like JPEG the quality suffers.
OK, let's suppose you've taken a masterpiece & wish to post it on the forum. Like most things on the computer this takes much longer to describe than actually do. Run IrfanView from the Shortcut & open the saved shot. My example was taken in FSX with the onboard screengrab feature (V key). It was saved in BMP format at the native resolution of my monitor which is 1440 x 900 pixels. It will need resizing to meet the forum limit of 1024 pixel width.
Click Image > Resize/Resample on the IrfanView menu bar or press Ctrl + R. This option window will open.
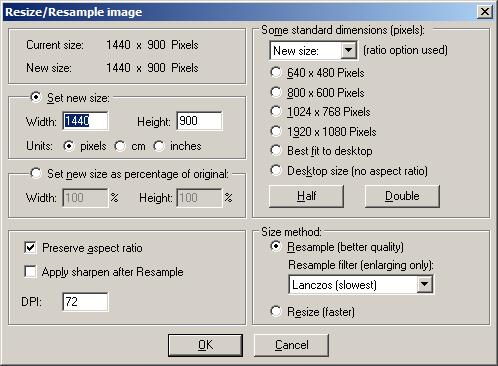
The above shot shows the default settings. Make sure yours is configured the same & the 'Preserve aspect ratio' box is ticked. As this is the Freeware Screenshots forum no editing is allowed so make sure the 'Apply sharpen after Resample' option is disabled. Leave everything else as it is.
To change the size of the image type the desired pixel width in the Width box. I've chosen the maximum allowed width of 1024. Then press OK.
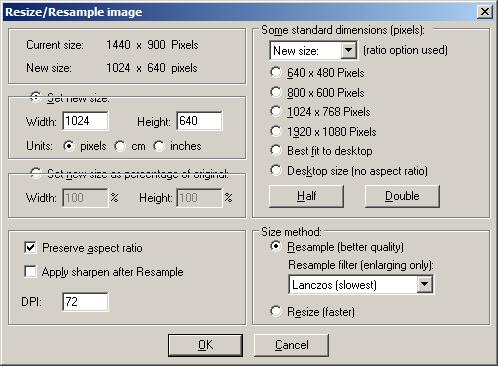
Now we want to save the resized image in JPEG format at the best possible quality within the forum limit of 150 Kb.
Click File > Save for web .. (Plugin) on the menu bar.
This window will open.
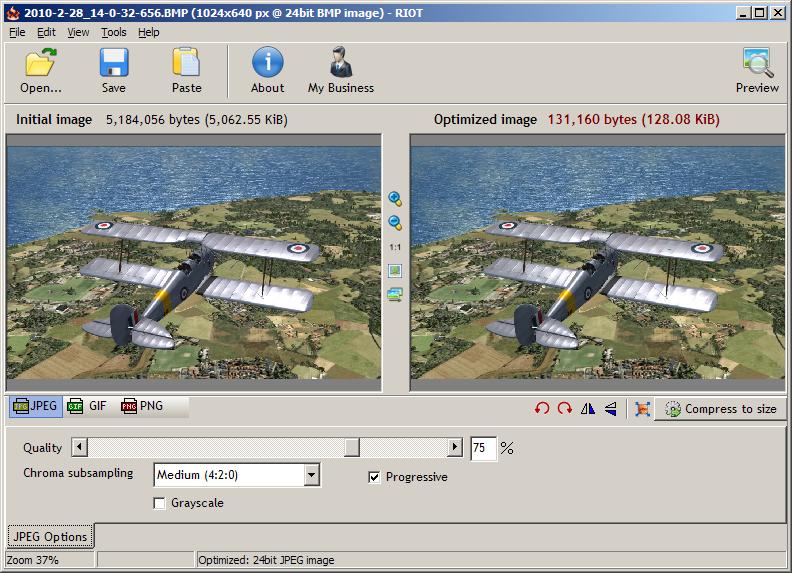
As this is the first time we've used this feature we might need to adjust some of the settings. I suggest changing the 'Chroma subsampling' to None (4:4:4). You can experiment with the Progressive option but I usually leave it enabled. It seems to save a few precious Kb without affecting the quality.
There are several ways to adjust the file size of the saved image. The easiest method is the "Compress to size" feature. Click the button & type the desired file size in the box. I've used 149 to keep it below the 150 Kb limit. (This doesn't always work accurately but can easily be adjusted manually.)
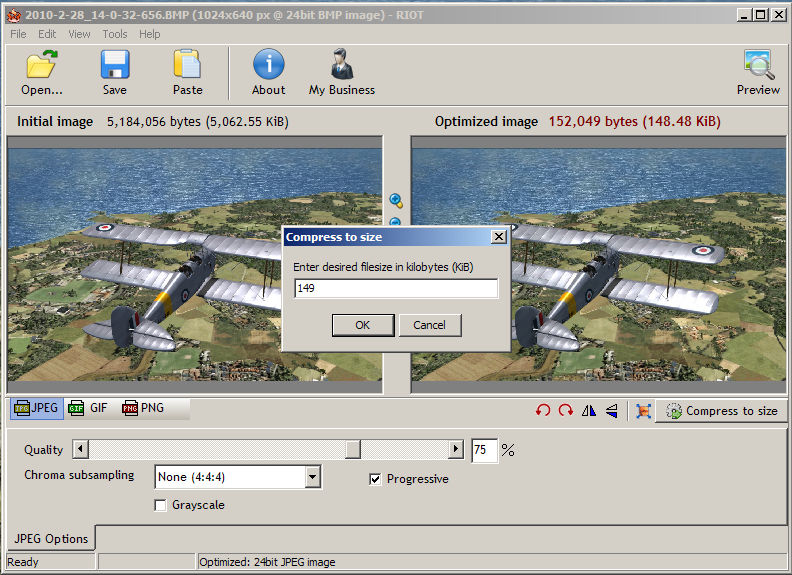
Click OK & this is what you get. The output file size is shown in red above the right-hand image.
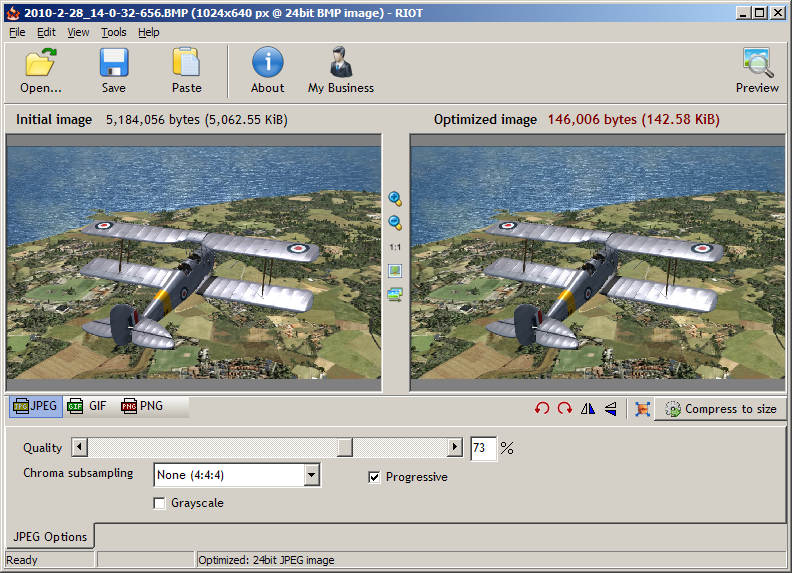
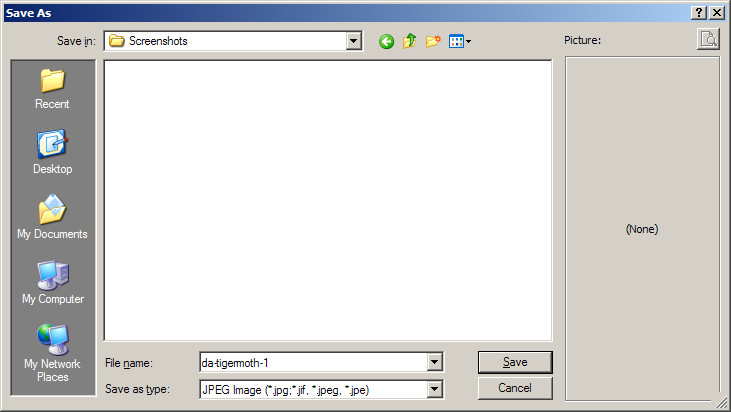
Finally, click the Save button & save the shot to a suitable location ready for uploading to the SimV server.
Please remember to use a file name unique to you & with
no spaces. Words can be separated with a dash or underscore if you wish.
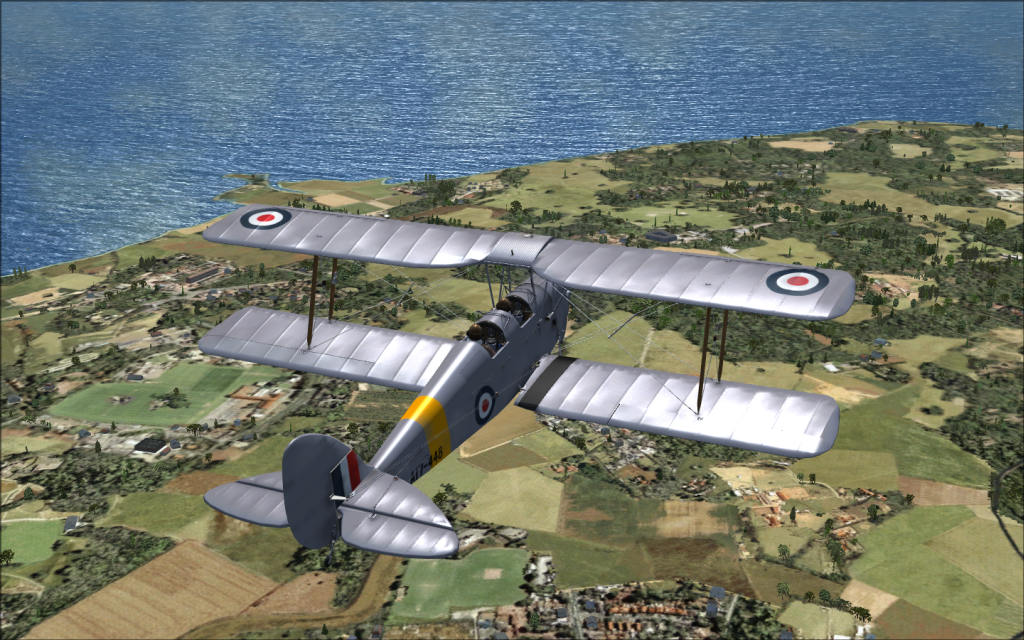
That's all there is to it. This is the result.
Hope it was some help. If enough people are interested I intend doing similar tutes using other free software like Gimp & Paint.NET.

