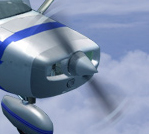
I've noticed a few people trying out composites which is really cool

:)....these can be greatly improved when they have good realistic props....and the best new is the technique is easy

This tutorial was made in PS CS2....but I'm sure most other photoshop is the same....as is PSP etc...
Click on the thumbnails for a graphical explanation

1. You have a composite all cut out and stuck, but it doesnt have a prop....

2.Go into FS and take a head on picture of the aircraft with its engine off

3.Load it up into PS

4.With your preferred method (I use the pen) cut out just the prop and the spinner....

5.Open a new image with a transparent background which is about twice the diameter of your prop high and wide, and paste it on

6.Select a circle around it as tight as possible, this may take a few attempts

7.Go to; Filters - Blur - Radial Blur

8.Make sure it's set to spin and select a low amount, such as 10, and press OK

9.Then do the same again, except this time make the amount higher....something around 30 is fine

10.Now that looks too blurry....so we go to Edit - Fade Radial Blur
The fade tool basically gives you the option to fade between the last two operations, so in our case, the 10 radial blur, and the 34 radial blur

11.Set the fade around 60-70% and that will give you a nice blurred effect

12. Then copy your blurred prop and paste it onto your picture

13.Then Edit - Transform - Scale

14. Scale the prop down until it's about the right size compared to the aircraft...if you hold down shift, the aspect ratio doesnt change

15.When your scale is about right, go to; Edit - Transform - Distort

16. By dragging the corners you can change the angle of the prop....try and make it line up with the aircraft...it really helps to think in 3D at this point


17. After your prop is in the right area and at the right angle, you have to erase the flat spinner that you added with the prop

18. So select the eraser tool and do a better job than I did

, making sure to erase all the spinner, as we want the nice 3D one on the original picture.

19. Now go on with blending....using colours and highlights etc....let your creative side run wild


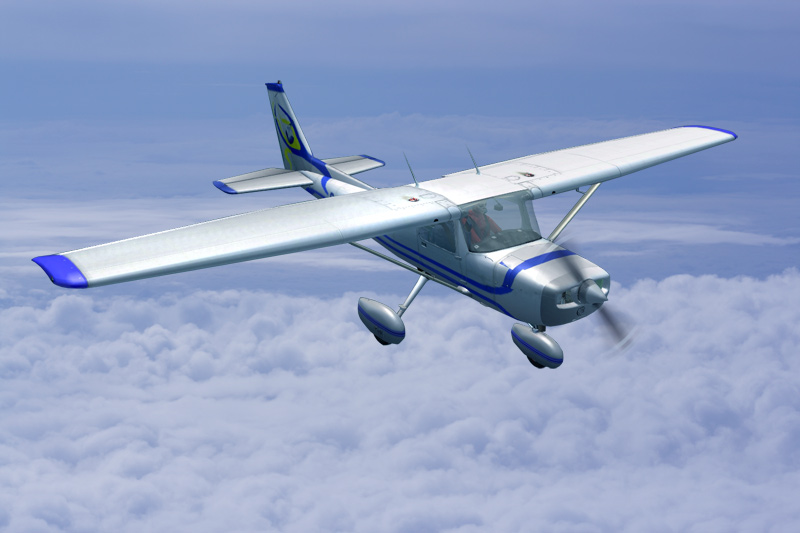
20. The finished composite, after blending....this was done quickly, so it isnt that great....but spend some more time on it and it will look amazing


I hope that helped some people....and now I am running out of characters, so I'll stop there

.mic

