Welcome to...

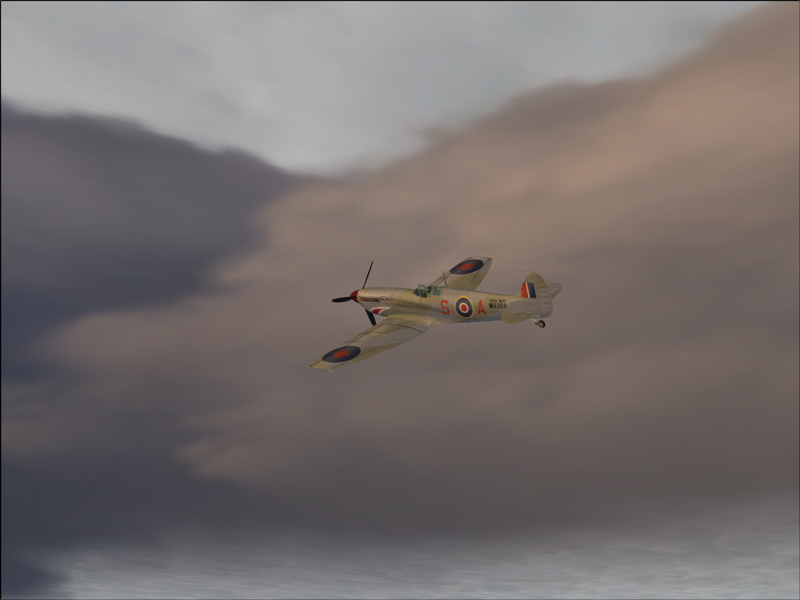
You want to learn how to turn this...

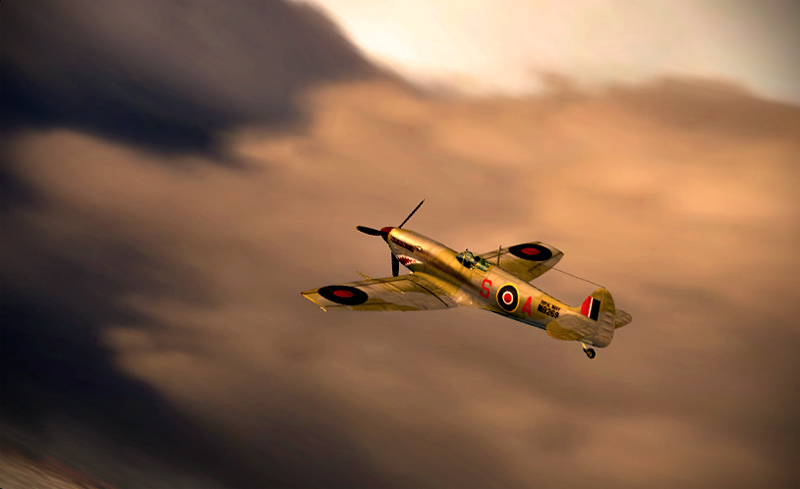
...into this?

Here's how to do it!
Editing - the basicsHello and welcome to my editing tutorial! This is a tutorial about giving your screenshot that extra touch that gives it a great mood. I used Adobe Photoshop 9.0 to make this tutorial, but I'm sure you can also use other image editing programs to get the same result. My version of photoshop is in Dutch, so I put in a lot of pictures (click the thumbnails) to make things clear.
Step 1: the screenshot
The most important thing is to start out with an already nice looking screenshot. It's the base for your end result, so it's ok to spend some time on making your screenshot.
When you're satisfied with the shot, open it in photoshop. Take a good look at the shot and think about what you want it to look like. Do you want to change the colour, the contrast, the sharpness, the focus... or a combination of these things?
I never think too long about this. I just start and see where it takes me...

Step 2: cropping and tilting
Let's start with some basic editting. The shot looks nice overall, but some parts of it really mess it up. The angle also isn't very interesting. So I tilted the canvas and cropped the shot.

Step 3: getting started
A good way to start on the real editting is the 'smart sharpen' filter.

Set it up to your likings and click OK. Notice the difference?

Step 4: the fading of effects
When you think you overdid the smart sharpen filter, you can go to EDIT - FADE SMART SHARPEN. This only works right after applying the filter. You can fade the filter a bit by moving the slider to the left. You can also do some other interesting things with this by changing the blending mode.
The fade tool doesn't only work with filters, but almost everything you do in photoshop. Just make sure you use it RIGHT AFTER applying something. It's a great tool and I wish somebody told me about it earlier.
Step 5: adjusting levels
To give your shot even more balanced colours, adjust the levels. (Ctrl + L)

See what some easy commands can do to a shot? You didn't even have to draw for this!
Step 6: use that brush!
Let's see what more can be done to enhance this shot. The seafire looks pretty nice, but the background looks a bit flat compared to it. Let's use some colour dodge to solve this. Just grab a big hard brush, set the blending mode to colour dodge, select a colour that matches the lighting and set the opacity to a low value. then paint over the whole shot.

Step 7: softening glow
Although I hate the 'diffusive glow' filter when used normally, you can do some nice things with it combined with the fading option.
I almost always use some colour in my glow. You can set the glow colour by setting the secondary colour.
Now apply the glow.

You can go as crazy as you want with this. Remember you still have to fade the glow.

Now, on to the fading...

(Continued on
page 2)

