Done quite a bit of work on the pit lately... got some nice eyeball vents for the panel, but was at a loss as to exactly how to draw fresh air from outside the enclosure to the vents.
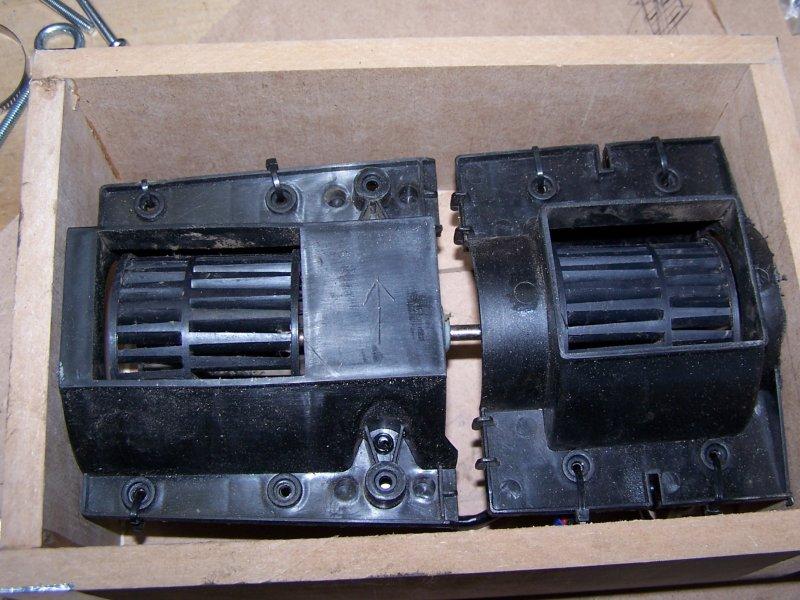
Then I remembered I had an old desktop fan; vertical type with two squirrel-cages driven off one AC motor.
Quickly figured out how to transfer the guts to a little box... there are openings on the other side to let air in.

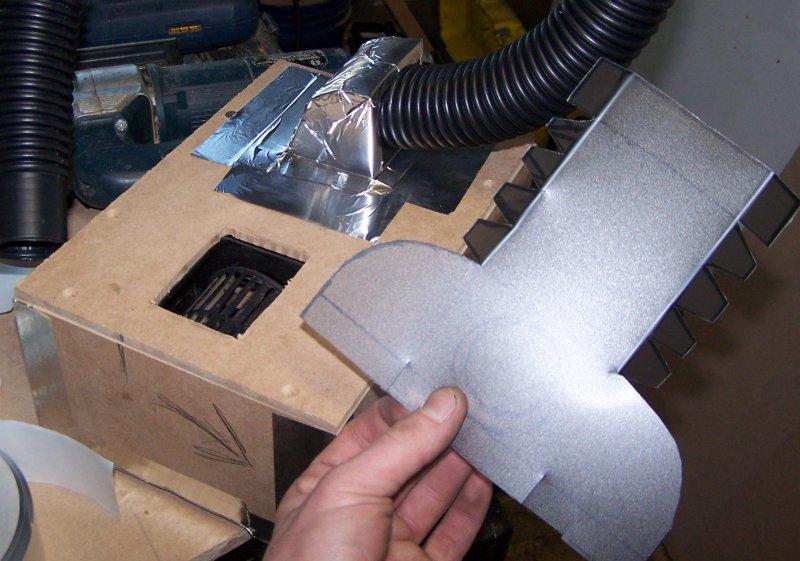
Then I had to fab some sort of transition to go from the rectangular openings to some flexible duct... have lots of this thick but very bendable plastic; a little aluminum tape, and... voila!!

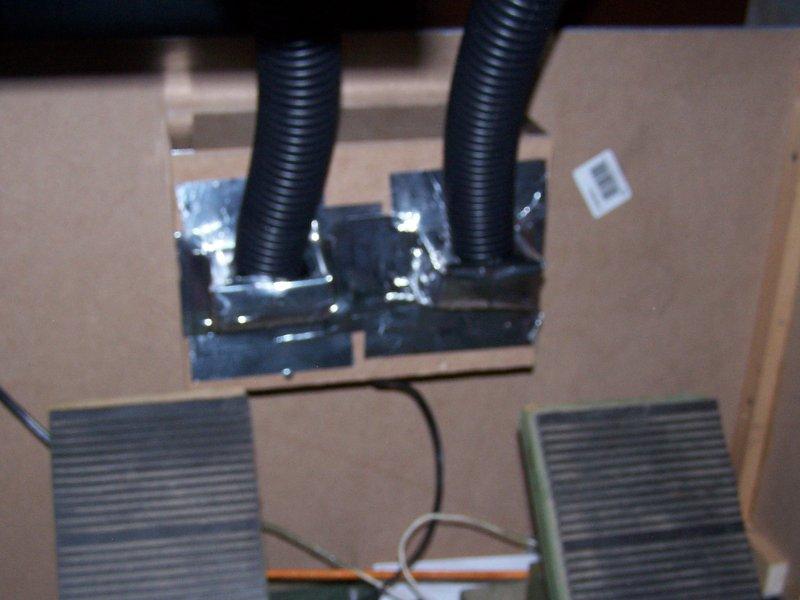
A bit out of focus, but here's the plenum box mocked-up on the front panel of the nose box. There will be a large-ish opening in front of it with a nice grille hiding it. Saw some terrific raw-metal grilles today; should have bought one... just oversized enough so that it will also provide a little passive cooling for the nose box itself.
A little down & dirty, but it won't be seen, really. I'm just happy it clears the pedals. I was hoping to keep things so that the pedals could come out without removing the nose box, but so it goes. I doubt I'll be removing them often, anyway, and I can still sort of get at them from outside- the top of the nose box face will be a removable panel.
There will be a switch for the fan on the overhead panel, which will also house two overhead lights: one red, for "night flying", and one white for cleaning and maintenance.

A view of one side of the main panel: the hardwood piece is just clamped in place; it will be shaped and finished so it blends in a little more. That will be where I put the switches for lighting, starters, etc., with flap and gear handles on the right side.
Once I finish laying out everything on the main panels, they will be painted dark gray, possibly matching the eyeball vents (which are putting out tons of cool air now, thanks to my whacky fan setup). The hardwood strip will get a dark reddish finish, evoking a "Golden Age" panel... should look nice.
Also seen are some new toys: the keyboard will sit on a little sliding tray, so it can go away when not in use, and basically sit above my knees when I am using it. The trackball and keypad fit perfectly in the space I created for them... oh, that's right- I actually measured it for them beforehand.

The check-printer thing for a throttle housing has been axed: having mocked up the parts I intend to use, I realized it won't do.
Those massive eye bolts will be cut and shaved a bit, with some 3/32" flat stock attached. The flat stock will be the only part of the levers visible, bent to form a proper twin-engine array. I intend to use wire linkages off the levers to drive slider pots...
That's a real trim wheel, from a Piper Tomahawk... found it on eBay for about $40. Perfect size, and it feels like a real trim wheel- very important to me. It has a spiral groove in one face... that will drive a linkage for both a slider pot
and a position indicator...going to lose my mind building that, but it just might work.


All the hardware- thumbscrews, eye bolts, rod, etc... was leftover junk from my job... I've already lost track of what I've spent on this project, but I'm still saving a bundle by scrounging and keeping the "generic" design concept.
Those are my old homemade rudder pedals, also... about $20 in parts, wood was free... they work and feel great. I'll be ditching the hacked wireless controller and putting in an ordinary rotary pot so the whole thing can just be wired to a Hagstrom board.
As it stands now, the only control interface not scratch-built will be the joystick. I may add a removable yoke later, but will probably make that from scratch.
That's all for now... I'll probably post sketches next time; of the control stick/armrest idea I have in mind for the other side of the seat.
Then I'll most likely build that (planning to make my own stick grip... somebody stop me!), then start roughing out the enclosure, as I'm not quite ready ($$) to start loading up the panel and wiring everything.

