Center Console AdditionsThe construction continues here slowly but surely. Anyone taking on a simpit better count on a
long project. But I think the construction itself is half the fun

.
Photos #1, #2, and #3 below show some of the floor lights for the cockpit. The units are 12V car licence plate lights that have been spray painted the same grey as many of the other panel accessories in the simpit.
The wiring attachement for the lights is a set of automotive blade type quick disconnects. This will allow easy rearrangement of the various modular cockpit structure components as well as easy replacement if necessary.
There will be four of these small lights located near the floor of the pit and controlled by a switch on the "Lighting" panel with a 12V dimmer. The barrier strip is for the 12V supply from the switch that comes into the center pedestal and then goes to the three lights that are located there.
Photo #1: Floor Light Assembly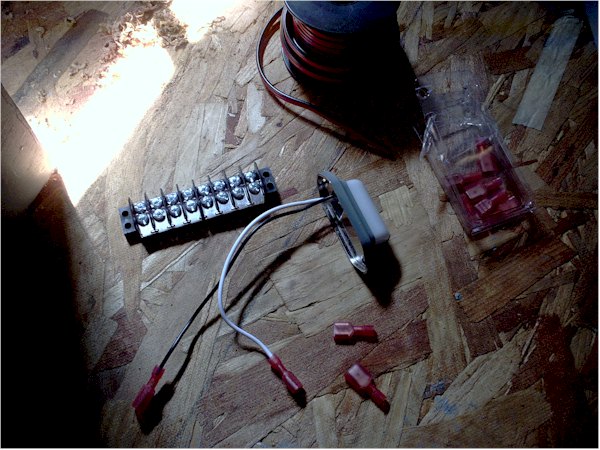 Photo #2: Floor Light Installed in Place
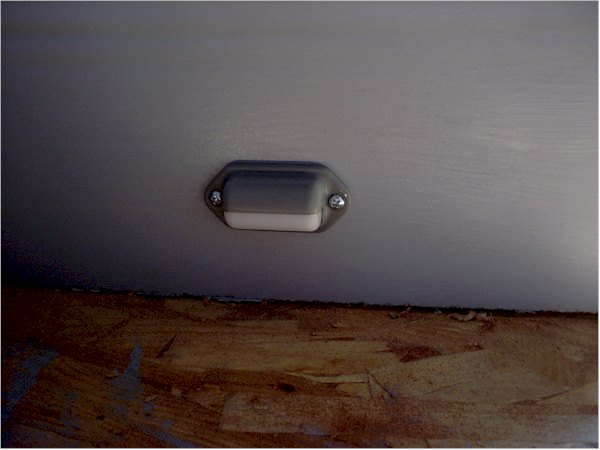 Photo #3: Center Console with floor lights
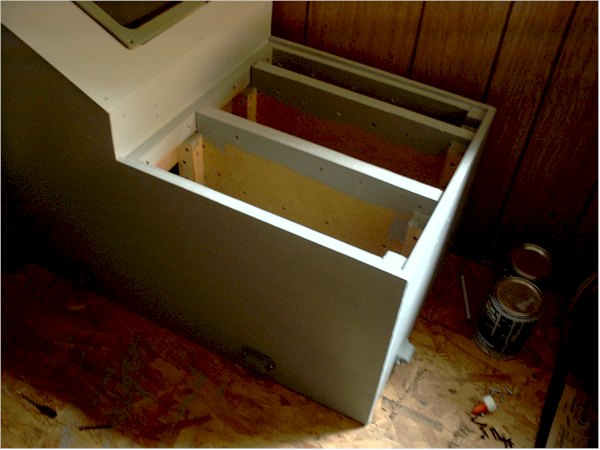
In photos #4, #5, and #6 below, you can see the typical assembly of the "rails" for the center console pedestal that will serve to mount the various control panels. These are again 1/2" MDF screwed and glued together with some 1 1/4' x 1 1/4" fir for the end "mounts" . The spacing is set up to conform to the Goflight modules that will be used for the various radios.... so the other panels I will construct will fit this standard also.
Photo #4: Panel Support "rail" Assembly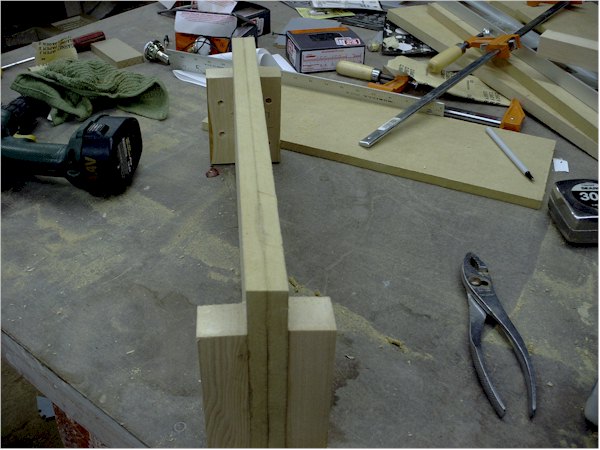 Photo#5: "Rail" installed in the Center Console Pedestal
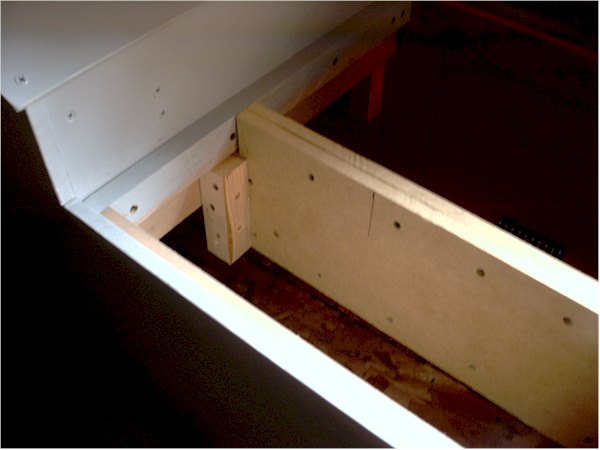 Photo #6: Console With the "Rails" Installed and Painted
More as it happens. For more info on how things got up to this point....search back thru the other threads that have documented my project up until now.
best,
....................john


Intel i7 960 quad 3.2G LGA 1366, Asus P6X58D Premium, 750W Corsair, 6 gig 1600 DDR3, Spinpoint 1TB 7200 HD, Caviar 500G 7200 HD, GTX275 1280M, Logitec Z640, Win7 Pro 64b, CH Products yoke, pedals + throttle quad, simpit

