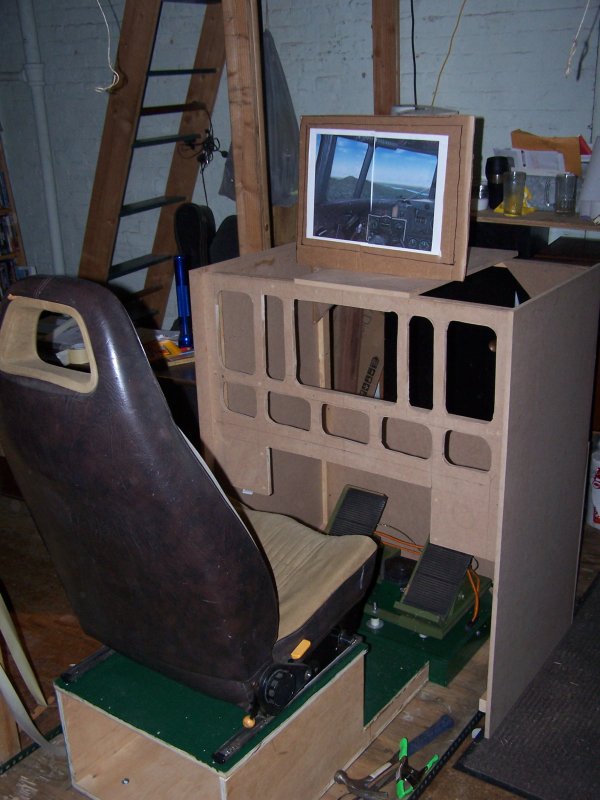
The first "iteration" of the main sub-panel... the center will be blanked out until I get a suitable LCD, and the rest will be just switches, probably mounted on 1/4" MDF panels thumbscrew-mounted to the sub panel with T-nuts. The cardboard "screen" is about the same size as the proposed 20" LCD, which will have a slightly larger viewing area.
Finally got the nose box done: 1/2" and 1/4" MDF, butt-joined, with 1x1 sticks inside for strength.
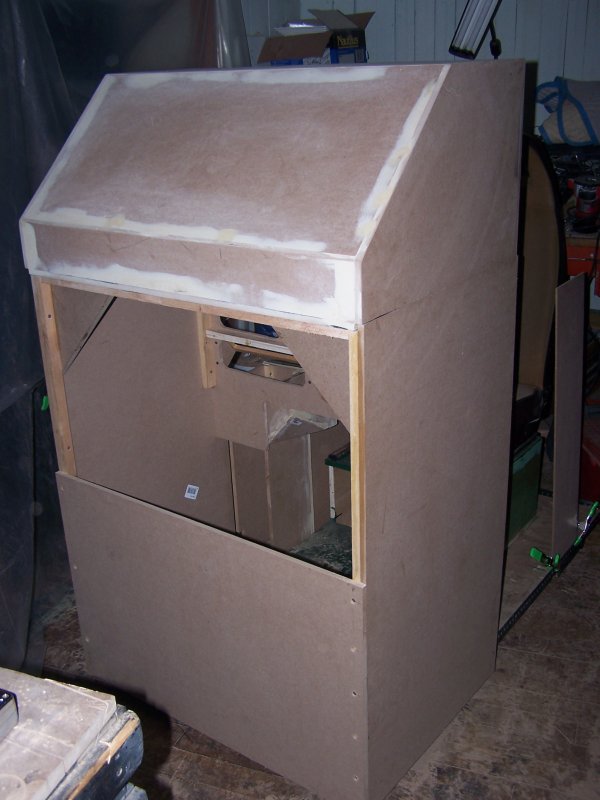
The whole top of the nose will be removable... here it is slid forward to show the cable passage/ventilation holes.
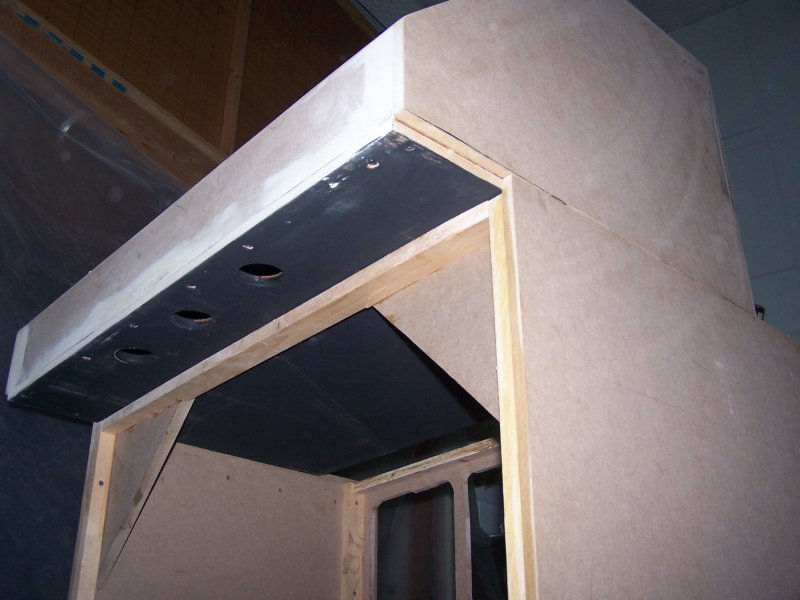
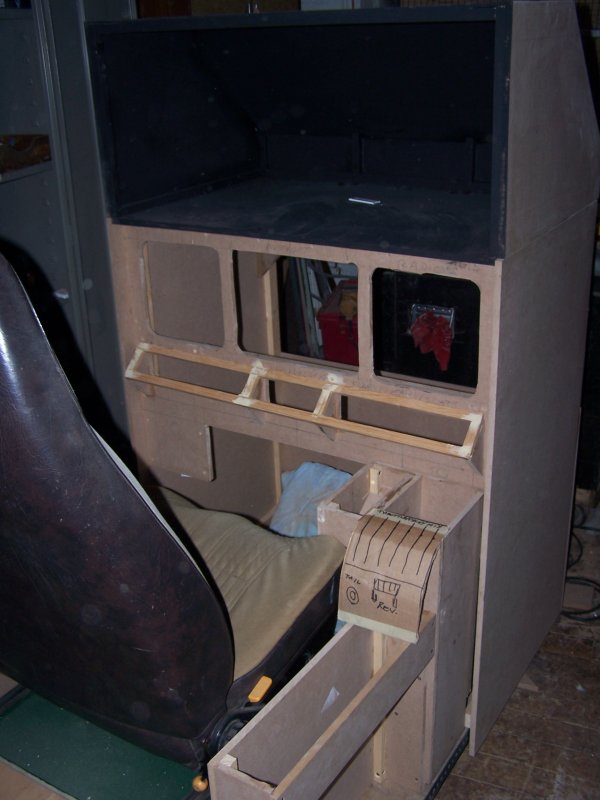
After a little thought, I cut out more of the main sub-panel to make more room. then I set up an angled section, for the usual lower-panel switches (master, mags, starters, lights, etc.). There will be levers for flaps, gear, slats/spoilers on the right part of that angled section.
Been designing as I go- bad habit- but this worked out pretty well.
You can also see part of the first side box here- Had to cut away that lower forward corner, because my damn leg was hitting it. Mockups don't tell you everything, sometimes...I may also have to cut some more material off the bottom edge of that sub panel.
I'm thinking of mounting the joystick on the door, otherwise even witrh the seat pushed back, I'll have trouble getting in and out of this thing . Note the scrap MDF on the right approximating the aft edge of the doorway.... I could make the door wider, but the real problem is that the stick needs to be about where the front left corner of the seat is when it is slid forward- smack dab in the middle of the doorway.
Shouldn't be too hard to engineer... That will mean moving ahead to building some of the enclosure... that's OK, I've been dying to start messing with that aluminum anyway.

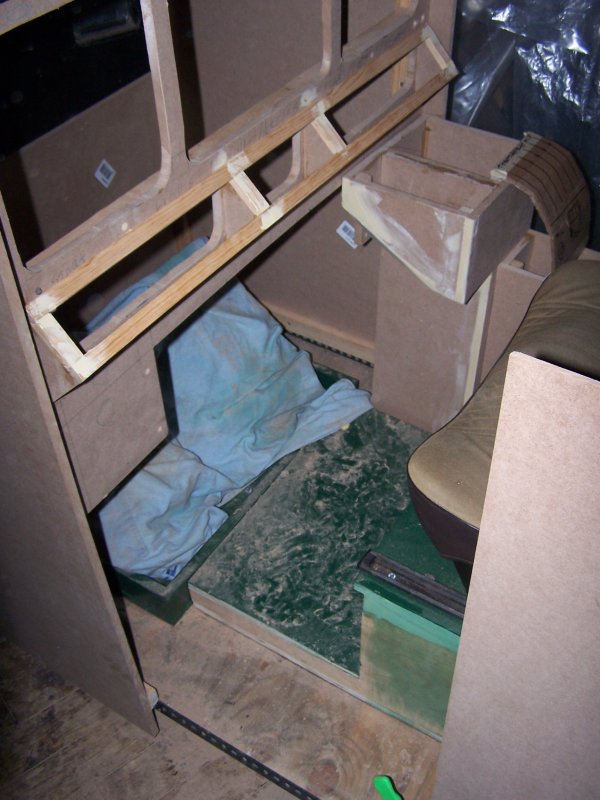
A better view of the right side box: There's my old cardboard throttle quadrant... atop it, there will be a trackball on the left and a keypad on the right, probably for generic sim commands.
Fuel selectors and cowl flaps will go on the top of the box just aft of the throttle quadrant; might create a little storage cubby in there, too, for charts, etc.
The flat black paint inside the monitor box was a good idea- there will be nothing distracting my eyes from the main display. There's just enough room in there for the 20" and a 17" on either side at an angle (future).
 Next: Part 5- more interior touches, etc.

