Control ColumnThe first shots are actually a bit old at this point.... but I haven't posted them yet. The last two are pretty current though.
I have been using a CH Products usb Pro Yoke for a while. Since I am constructing a commercial avaiation type jet cockpit..... I will continue to use a yoke as the main flight control. I tend not to fly Airbus aircraft... so the sidestick (on the left side) would not really feel correct.
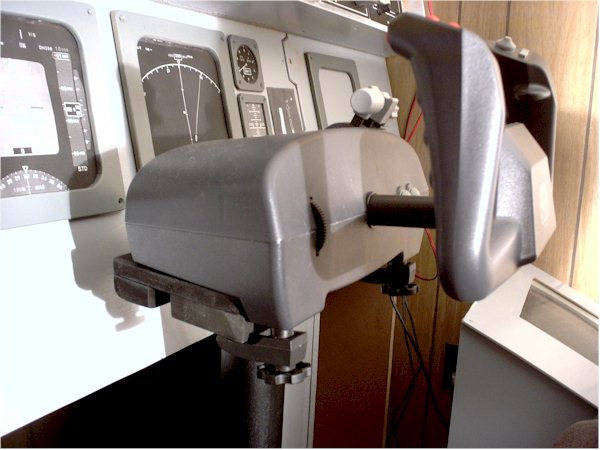
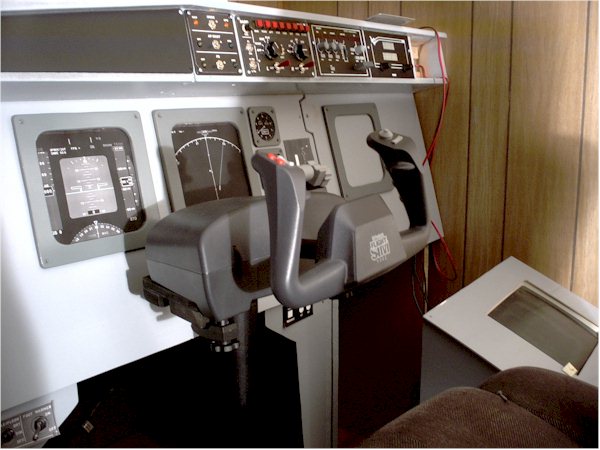
I decided that I really did not at this time want to get into all of the difficult construction work that making a realistic yoke would entail. So I decided to continue using the CH Products yoke. But I wanted to "up" the realism a bit.
So I thought about it and decided to mount the CH yoke on a fixed "column" that is merely a substitution for the edge of the table that it is designed to clamp onto. Thought I had a great "originila" idea there.... until I did some surfing and found that others had done the same thing.
I took some time sitting in the pilot's seat with the yoke in my hands.... and tested the height that the yoke needed to be located at. Then a little measuring of the thickness of the wood, the thickness of the pipe mounting parts, and the size of the yoke itself. Then a bit of addition and subtraction and I came up with the necessary height of the support structure.
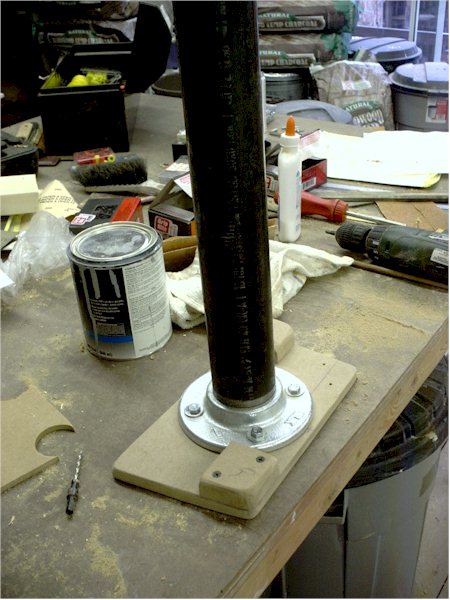
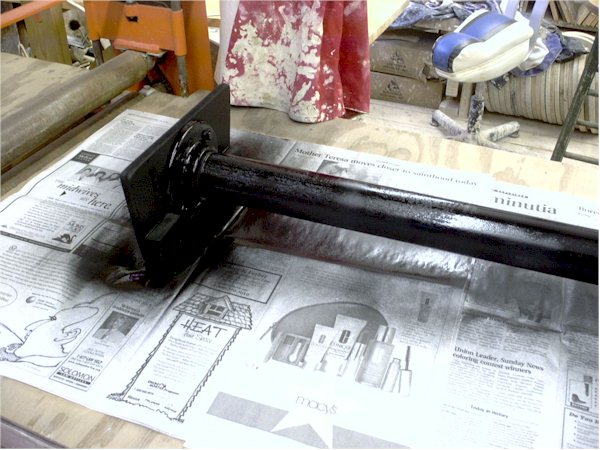
I decided on using black iron pipe because the yoke will exert quite a bit of angular torque on the assembly particularly when pitching up or down... and I did not want too much flexibility in the column itself.
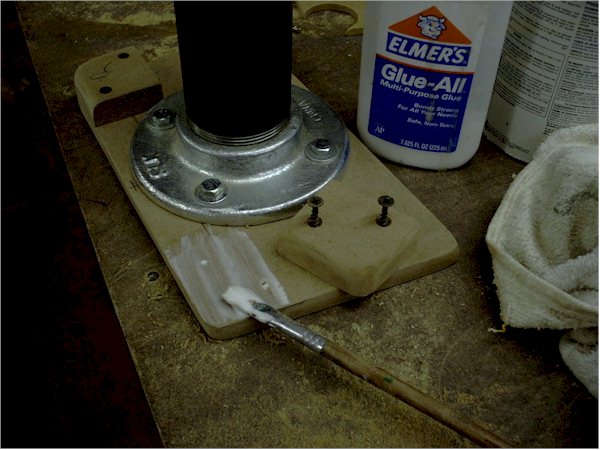
The column is mainly a piece of 2" black iron pipe with pipe flanges for the top and bottom mounts. Then mdf has been cut to the shape of the footprint of the CH yoke on one end, and "tabs" have been added to that wood to make the board thick enough for the clamps on the yoke. Then the pipe flange on the other end is lag bolted into the flightdeck flooring.
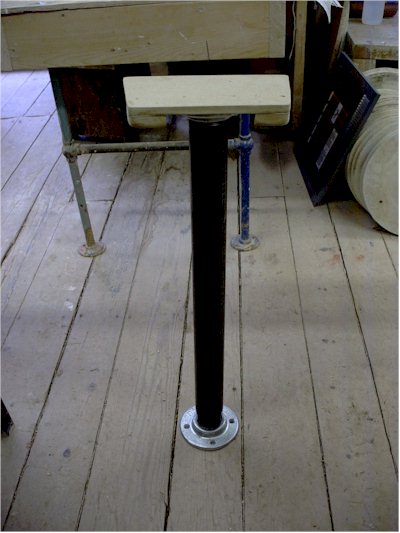
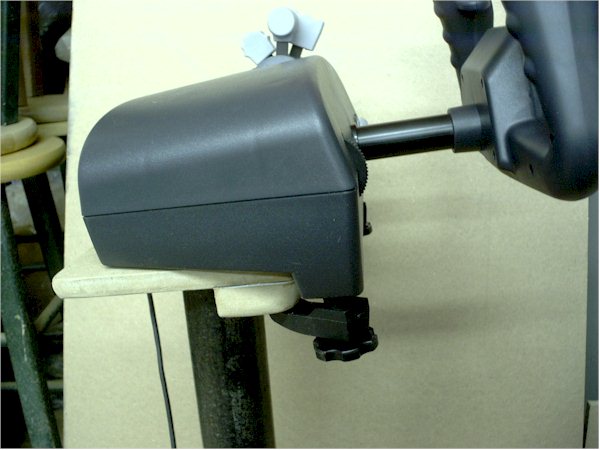
Note that the above picture is WRONG! I took the shot with the CH Products yoke clamped on the wrong side of the mounting plate.... it goes the OTHER way

.
As always........ more later.
best,
.......................john


Intel i7 960 quad 3.2G LGA 1366, Asus P6X58D Premium, 750W Corsair, 6 gig 1600 DDR3, Spinpoint 1TB 7200 HD, Caviar 500G 7200 HD, GTX275 1280M, Logitec Z640, Win7 Pro 64b, CH Products yoke, pedals + throttle quad, simpit

